
I happened to stumble upon the website when I was surfing Pinterest over Memorial day weekend. We've gotten upwards of 10" of rain in the past two weeks and the forecast called for another 5+ over the weekend. I wholeheartedly decided that I was going to do absolutely nothing that particular Saturday (as a school teacher with 6 days left of school I felt that I deserved this) but then I happened upon the most glorious rendition of Monopoly in the history of Monopoly's.
I'd seen this version several times before but I'd never seen someone who was willing to give away their hard work for FREE! That's right, you can download the pdfs that this amazing person created and make your own Harry Potter Monopoly version for FREE! My faith is restored that there are wonderful people in this world!
I quickly downloaded the pdf files and saved them onto my computer (I have this problem where I think everything will be deleted as soon as I find it so I'm prone to saving/printing everything at once so that I don't lose it). I then proceeded to collect the items that I would be using to create this.
We have several Monopoly games from over the years. Monopoly has been a tradition in my family since I was a wee lass stumbling around on lanky legs. Though we've waned in how much we play as a family now, there are still many memories of playing Monopoly every summer at my grandparents house and every Holiday when my grandparents were visiting. The games would take days and go long into the late hours of the night (until my grandma finally sent us all to bed). We will never forget the time that my little sister threw the board (literally flipped and threw the board) because she thought my brother and other sister were cheating (I think...) and she got upset. Monopoly is near and dear to my heart and now I get to have a Harry Potter version which is also near and dear to my heart.
Anyway, I took one of our extra Monopoly boards for my revamping--my fiance and I are both bringing a set to our marriage and one is unopened so I used the open one...which is actually brand new as well with all the items still in bags.
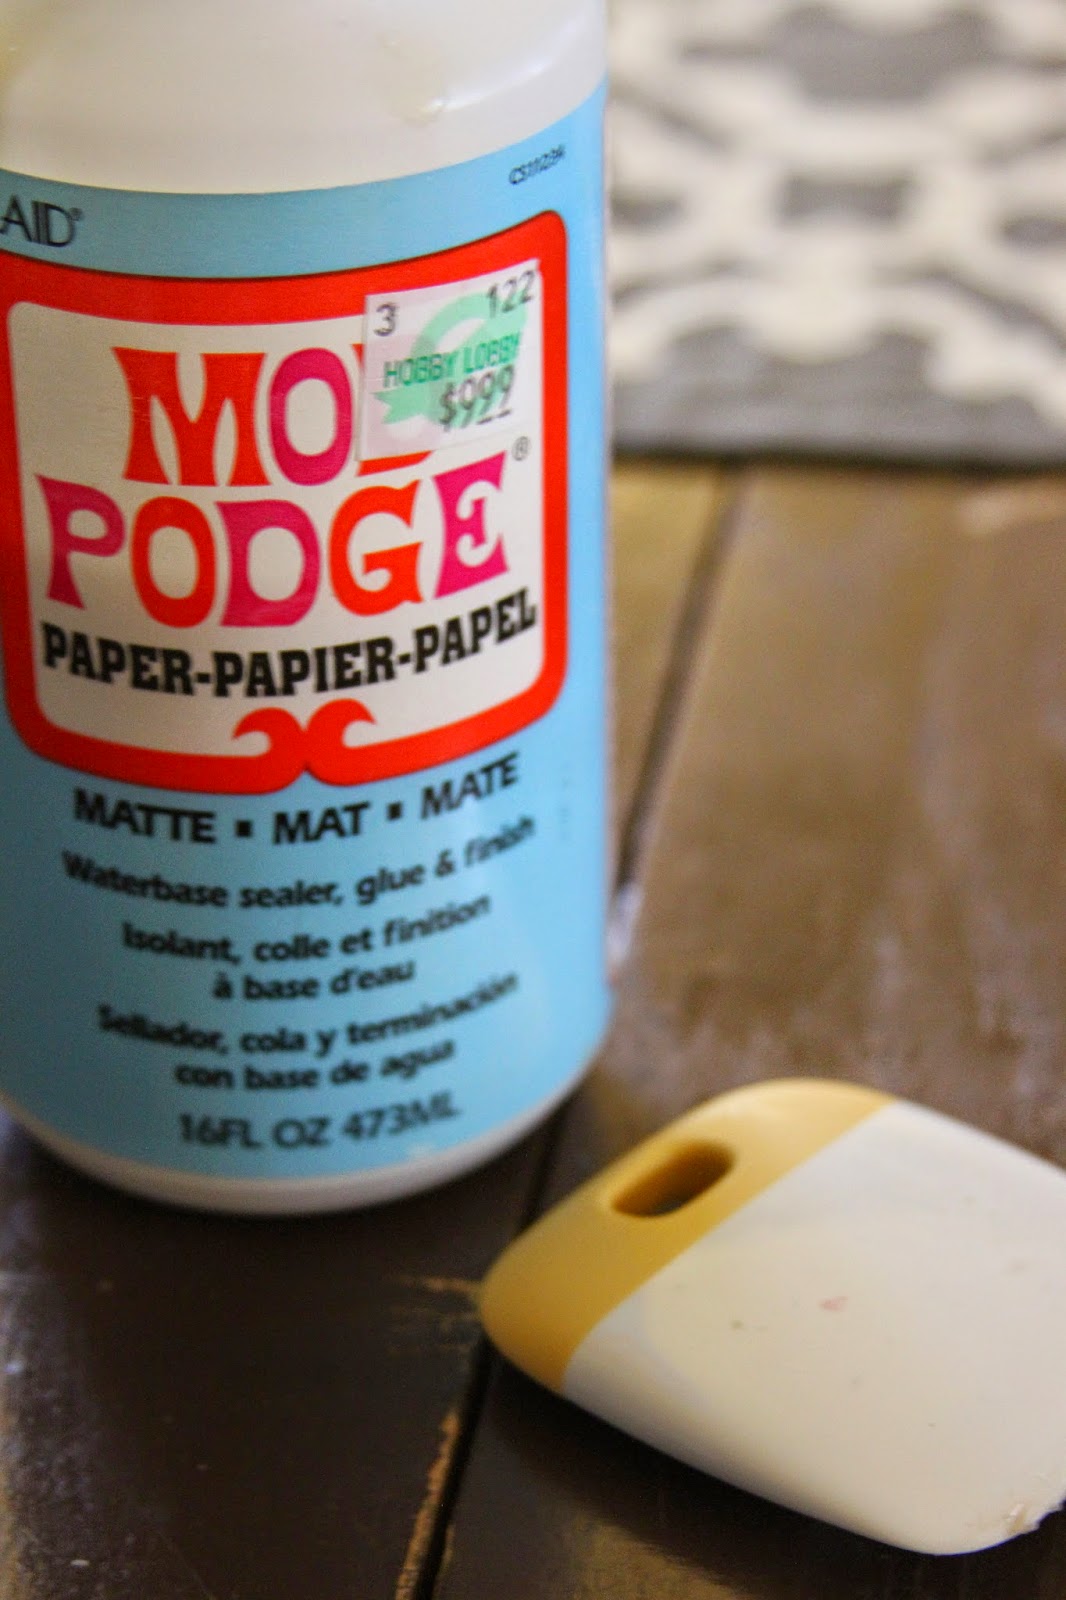
I also grabbed my handy-dandy modge podge for paper, a paintbrush, a scraper, (mine came with my cricut machine) some tan resume paper that was lying around and orange and yellow construction paper. See, being a slight hoarder pays off sometimes! I didn't have to spend a penny on this project! (I ended up running out of ink for the printer at the last minute and we had to buy more...I don't feel this counts though since we'll be using the ink for more than this project and it was like three pages that needed to be printed.)

So, first step was to print everything!
The beautiful thing about the pdfs is that they're already aligned for double sided printing. The only tedious part about printing the pages was flipping the paper over and sticking it back in the printer so it could be double sided. Obviously a feat that was well worth the trouble!
For the board pages, instead of using two pieces of 17x22 like the author recommends, I printed it using the "multiple" option on the printer. This printed each side of the board on 6 pieces of paper that were the exact size of the board. Done!
Second step was to cut everything out. This is where I would have done something differently. What I did was cut along the black line on every piece. This makes it fit right inside the blue boarder on the game board. But, see how the pictures are styled with extra room after the black line?

Yeah, next time I'll definitely leave about an inch of wiggle room on every piece and cutting off the extras once the board is dry. I feel it would've made a cleaner look. I'm still deeply in love with my board, but I would definitely make some tweaks the next time (Christmas presents, maybe?) I make one.
Once all the pieces were cut out, I began to assemble them on the board. I did a rough layout of them first to make sure I could visualize where they were going. It was like a puzzle!

After that, I started gluing each piece onto the board with modge podge.
A few tips about this:
1. spread modge podge on the board
2. lay the piece ontop of the modge podge
3. use the scraper to clear piece of any bubbles

4. spread modge podge ontop of the paper
*If the bubbles won't go away with scraping, gently lift the paper from the board and slowly roll it back down, smoothing each inch as you go. This worked for a couple of pieces but then I ran into a piece that had too much modge podge underneath and got messed up.
When I did the first side of the board I followed these steps and it turned out beautiful! I love that side of the board.
Unfortunately I then ran out of ink in the printer so the fiance and I went to buy some more. Well that trip ended up with a detour to the AT&T store where we switched my account from my parents to my fiance's, then we both got new phones (I switched from an iPhone to a Samsung which has been stupidly difficult for me to learn) and he bought one of the Samsung watches. Needless to say, we got distracted.
However, when we returned, I got back to the project at hand; printed off the other side of the board and set to gluing down pieces without being extra careful with the bubbles. So lesson learned, take your time!
Seriously, it will make all the difference in the end.
Because I hastily did the second part (without really realizing it but mostly because there was rock music playing which hyped me up) it didn't come out as flawlessly as the first part did.
 |
| Sad bubbles :( |
This stupid mistake led to a couple pieces not matching up which led me to get extra crafty.

I glued an extra piece of paper underneath so at least the blue didn't show through underneath.
Another piece I completely redid because it was so off that I couldn't stand it.


Overall, I'm super duper happy with how it turned out! Flaws and all!


No comments:
Post a Comment