Once we finished the base of the coop, we began on the framing.
To build the framing we bought these:
14-ish - 2x4@6ft
4 - 2x4 @5ish feet
1 - 2x2@8ft
1 - 16" board (for hen house flooring)
1 - Fiber/Asphalt Roof Panel
2.5" nails
3" nails
Total spent so far: 250ish
Okay, so on to building the frame!
We started with the North wall.

Then continued with the West.
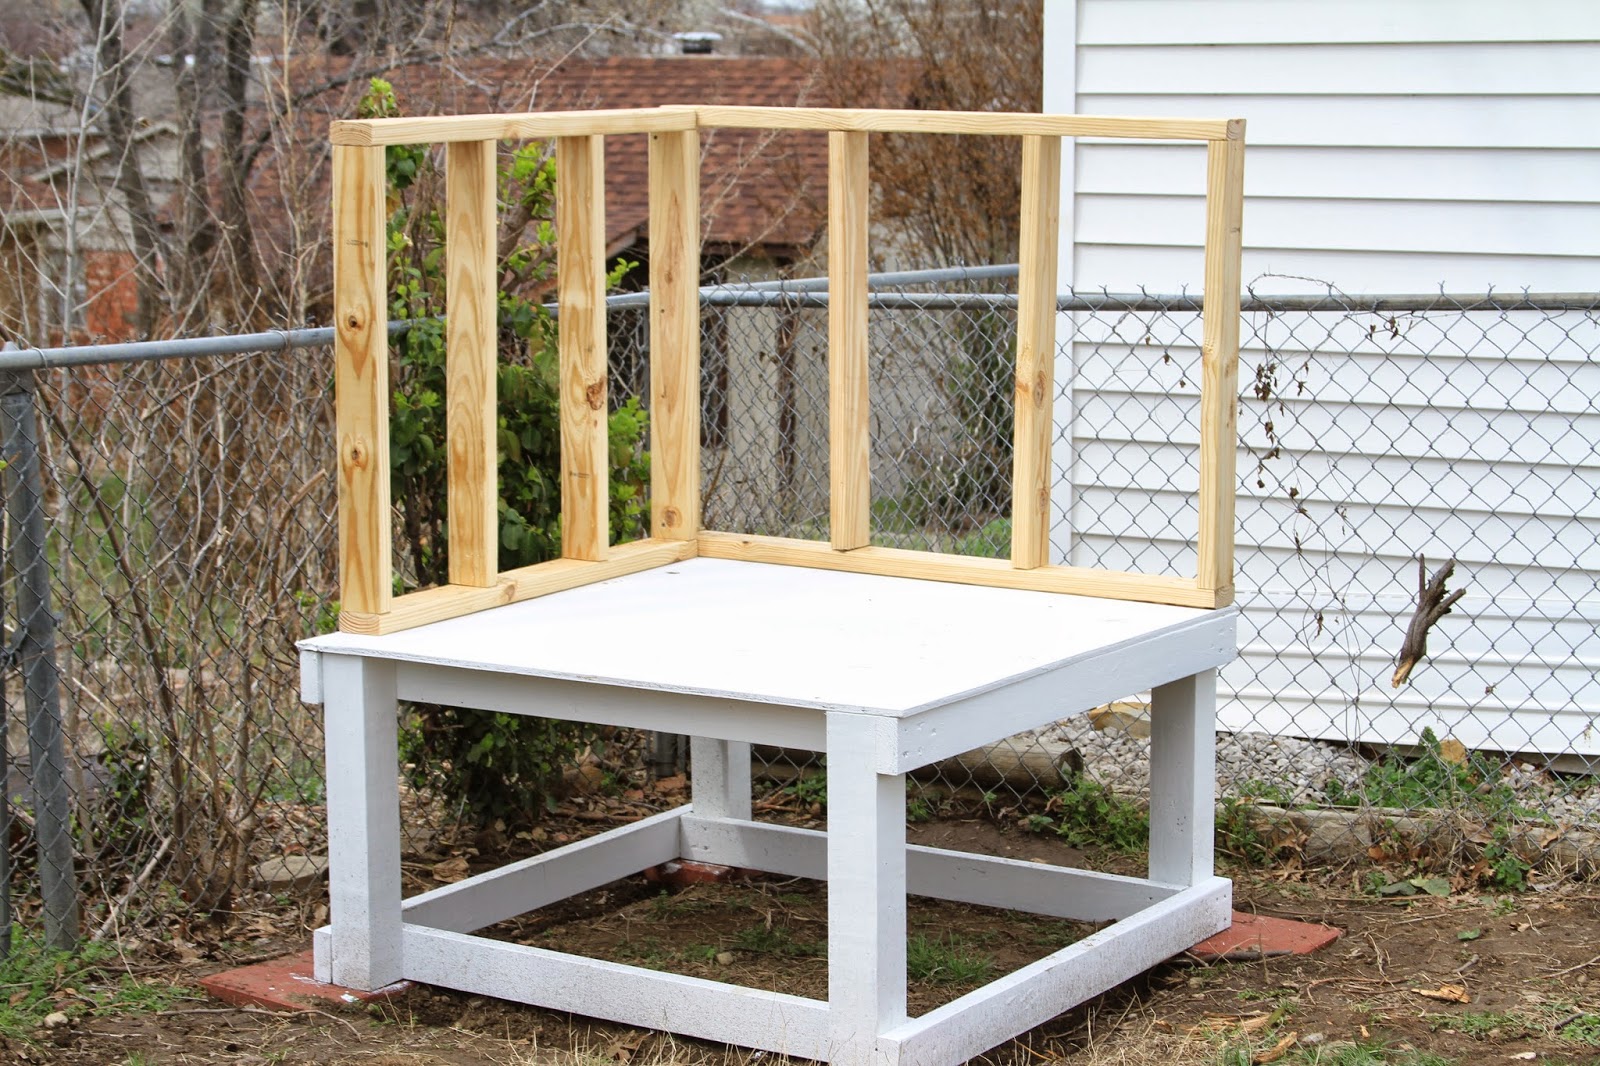
The East wall is taller because of the slanted roof we were putting in. It is also the wall that will house the door so the braces are closer to the sides.


We had quite the discussion about the layout of the chicken coop. Because of space restrictions we had to put the coop pretty close to our back fence. This didn't leave many options for where to put the hen house and smaller door that would allow the chickens to come in and out on their own. We decided to put both the hen house and the smaller door on the South side of the coop.


I snapped a picture of Alfie who was enjoying some outside time. He basically wants to be a dog.

This is the fiance installing the hen house.


Our uber cool work station. He ended up accidentally cutting through the arm rest of the Adirondack chair. Oops!

All put together and ready for a coat of stain! We used this Olympic Maximum outdoor stain in white as the base coat to seal the wood. We're building this coop at the beginning of tornado season so we get several nights of rain each week.


Then we got the rafters up. The fiance measured and notched each of the rafters and we installed them with super long nails.


Go check out our finished product here!
No comments:
Post a Comment