Materials Used:
OSB Sheathing @4'x8'
Cheapest exterior siding we could get
1 - 1"x2"
1 pack of vinyl flooring
Lots of screws
Total Cost of Coop (once its all said and done) - 350-400ish
We cut down all the siding to fit the framing we'd set up and screwed it all in.
Once again, Alfie was out being rambunctious.
We cut down a piece of OSB board and placed it on top of the rafters. We then covered it with the roof panel that we'd bought.
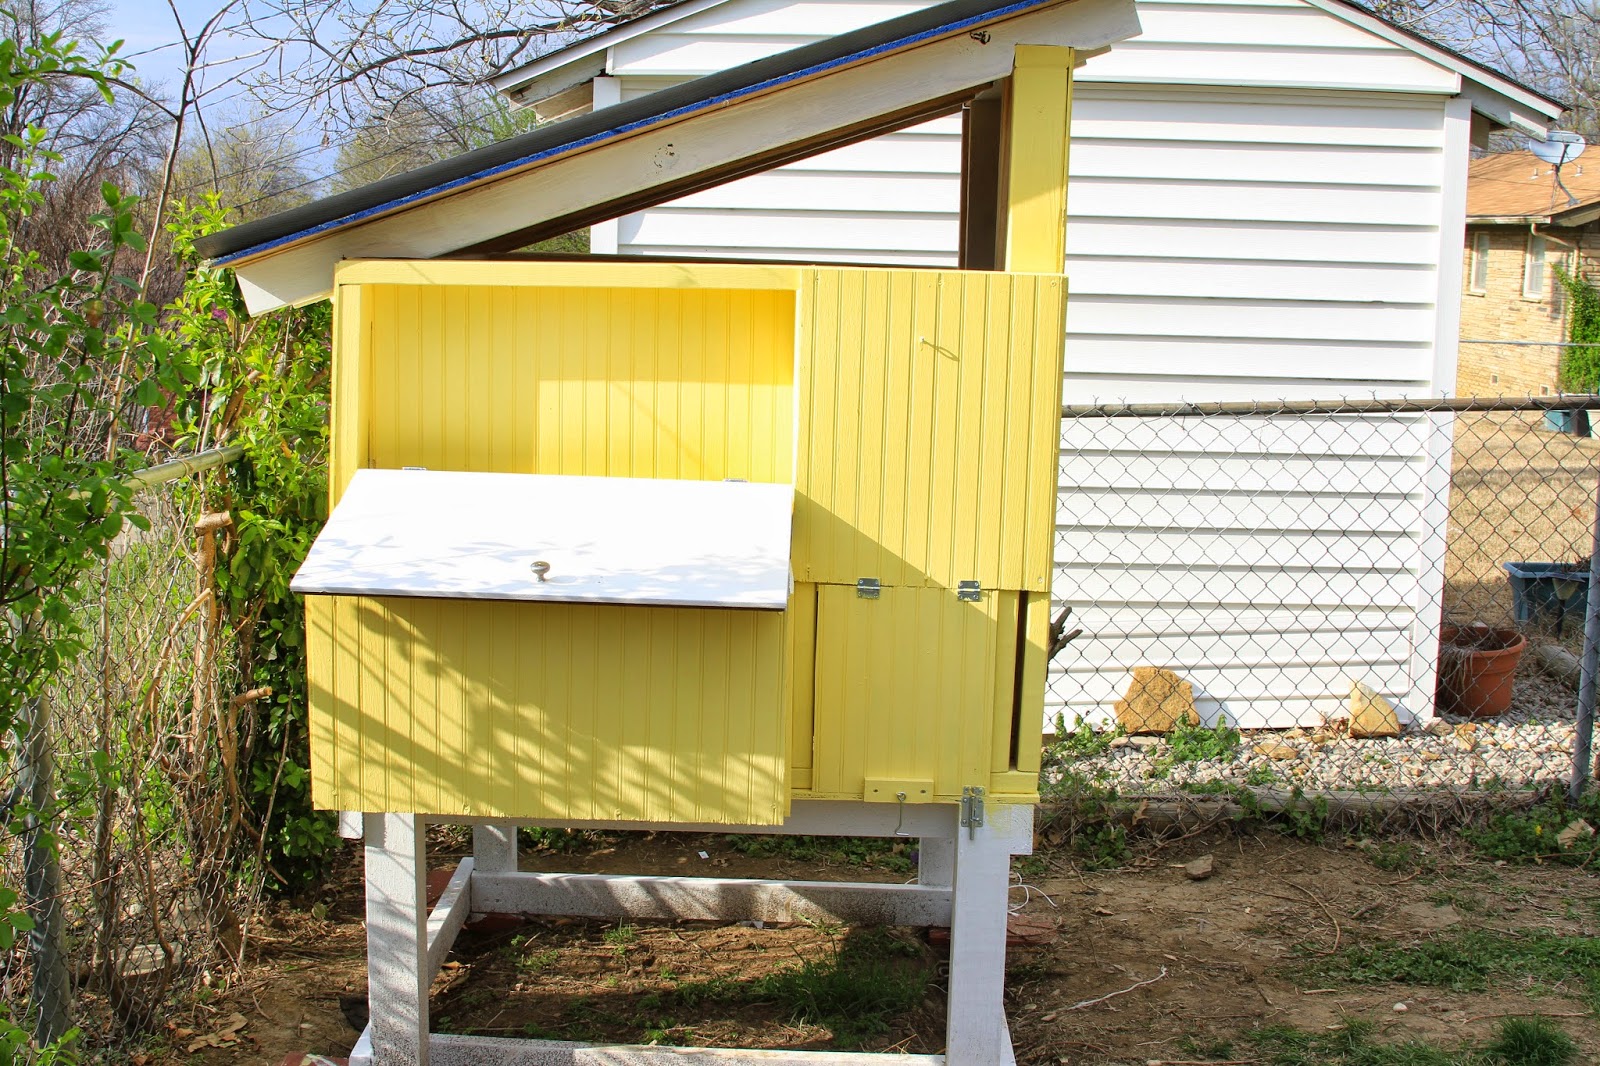
For the smaller chicken door we attached a hook so that it could remain open and allow the birds to come and go as they please. At night, we can latch it on the bottom.
I picked a light yellow since the summers get hot and we wanted something that would reflect the heat.
On the bottom we built a drawer that slides out for easy cleaning of the bedding inside. It has worked liked a dream!
On the bottom of the drawer we stuck some cheap vinyl flooring which helps keep everything easily cleanable. The gaps on the side we filled with extra 2x4.
Inside view of the hen house and chicken entry.
The door to the hen house was one that I had removed from my kitchen cabinets when I first moved in. My kitchen is small and I wanted more of an open feel to it. I'm happy the fiance found it and we were able to trim it down to fit this use.
Finally, at the top sections, we stapled chicken wire to allow some air flow but also keep critters out.
We've had a couple storms already and it seems to hold out rain pretty well (we did cover it with a tarp for one storm that was particularly tornado worthy).
The chicks love their new pad!
I'm a little haggard after the days work. If you notice, my finger got busted by the drill. Ouch!
He's pretty proud and I'm pretty proud of him and his hard work!
The chicken coop will be a continuous work in progress. We're planning on adding a PVC pipe food and watering system as well as guttering around the edge of the roof which will collect rain water in a barrel that we can then recycle into the coop.


No comments:
Post a Comment